Creating Service Accounts
The gateway that you install on a turbine needs to upload data to Aerosense Cloud. However, we don’t want “just anybody” to be able to write data to the store - that leaves us vulnerable to a wide range of attacks. So the gateway must authenticate itself with the store prior to upload.
To enable the gateway to authenticate itself, we use a service account, which is a bit like a user account (it has an email address and can be given certain permissions) but for a non-human.
Here, we will create a service account for a deployment - this will result in a single credentials file that we can reuse across the gateways (turbines) in the deployment to save administrative overhead maintaining all the credentials.
Choose your service account name
When creating service accounts, whilst any name will work, sticking to a naming convention is very helpful. There are three kinds of service account names:
For deployment with Balena
If you’ve deployed gateway code using Balena, the newly added device will be given a “coolname” like fried-firefly or holy-lake.
Use this name as your service account name, which makes it super easy to diagnose any problems, or restrict permissions
if a device is lost.
For manual deployment
Use a name that’s prefixed with as-deployment-, eg as-deployment-tommasso. These service accounts should be set up
to have consistent permissions as with a balena deployment but simply indicate its for manual trialling of uploads from the gateway.
For development
Developers will work across the entire stack of cloud functions, gateway and other aspects of the project like dashboard or tools.
Thus developers’ service accounts are expected to have a wide and varied range of permissions.
The name should be in the form developer-<github-handle>, eg developer-thclark.
Create account and credentials
Log in to the aerosense-twined project on Google Cloud Platform (GCP) and work through the following steps:
1. Go to IAM > Service Accounts > Create
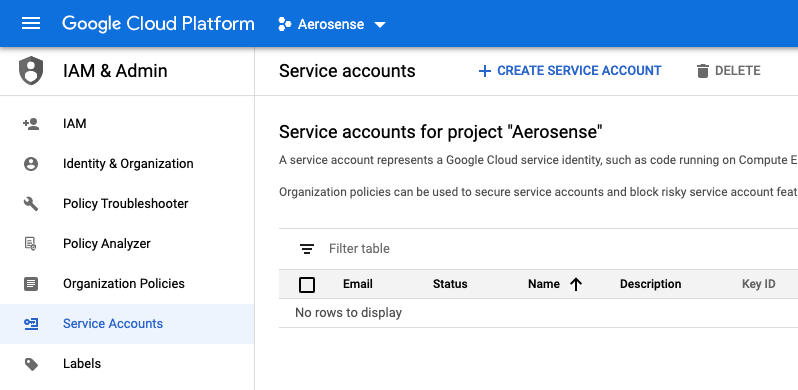
Go to the service accounts view, and click “Create Service Account”
2. Create the service account
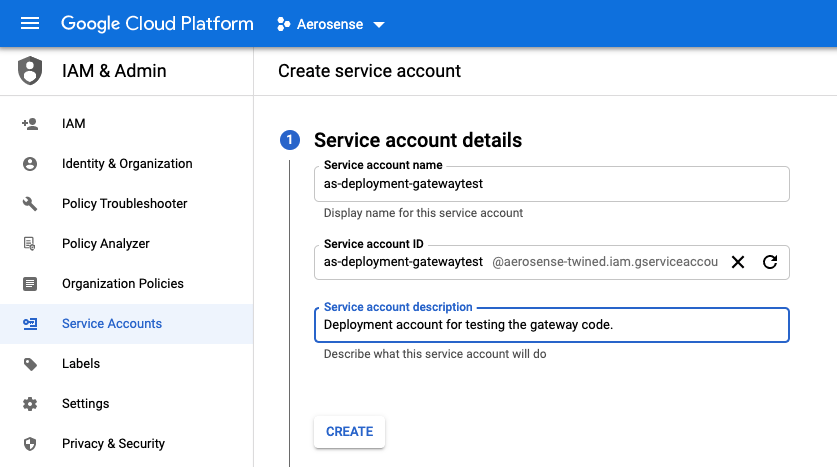
The service account name should be per the naming guidelines above.
In this image, as-deployment-gatewaytest was used.
3. Skip assignation of optional roles and users (for now)
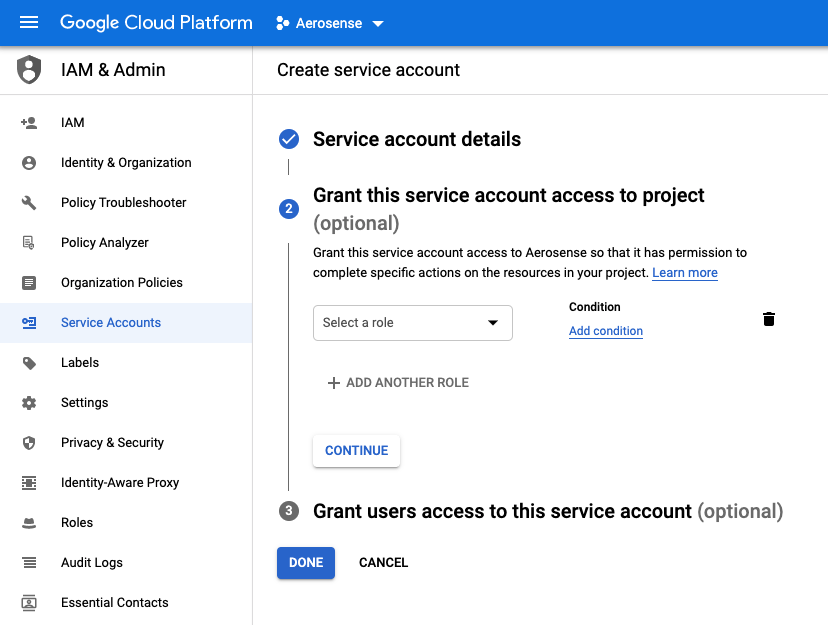
Do not assign roles or users for now. We’ll assign the permissions for the specific resource(s) in step 6.
4. Create and download a private JSON key for this Service Account
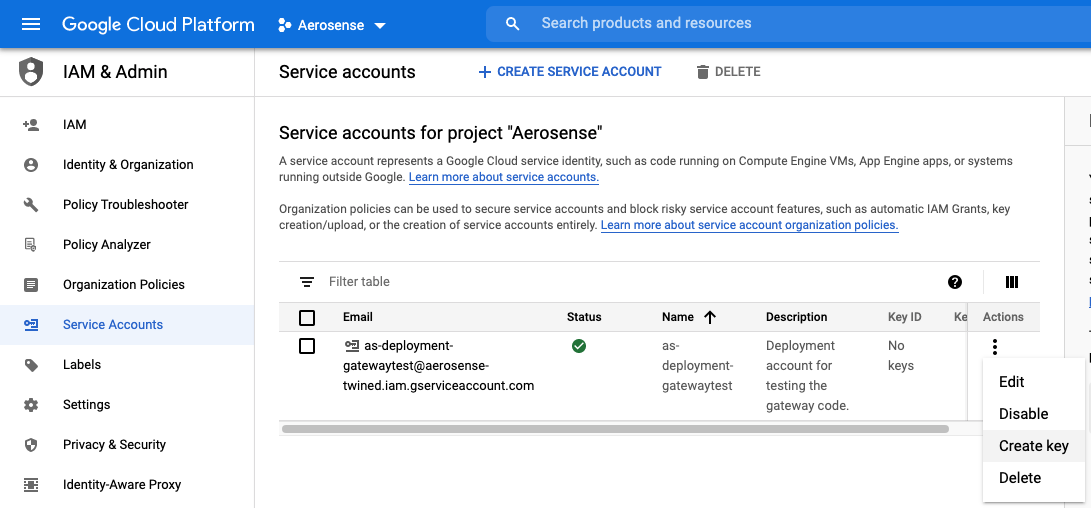
Find your newly created service account in the list (you may have to search) and click ‘Create Key’.
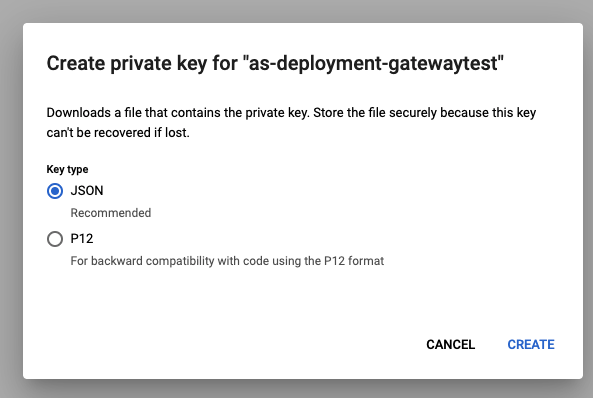
Choose the default JSON key type.
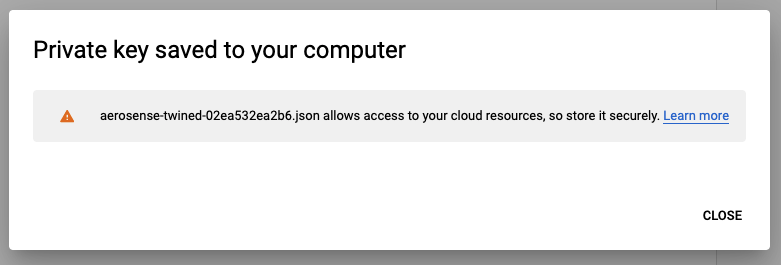
Google will create a key file and it will be downloaded to your desktop.
5. Locate the ingress bucket in the storage browser, and click on “Add Member”

From the left hand navigation menu, change to the Storage Browser view and locate the aerosense-ingress-eu
bucket. Select it, and click “Add Member” in the right hand control pane.
6. Assign ``Storage Object Creator`` permission
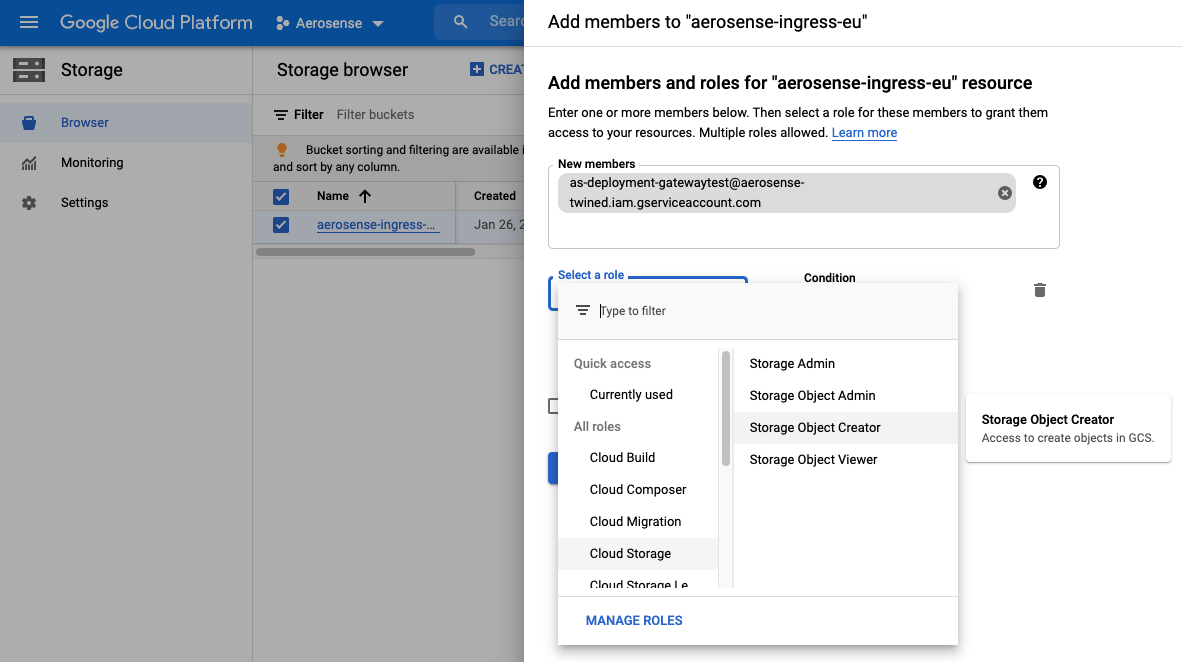
We wish to add the service account created above to this bucket’s permissions member list. Use the email address
that was generated in step 2 to find your new service account and add it. We want the service
account to have minimal permissions which in this case means assigning the role of Storage Object Creator.
And you’re done! Keep that downloaded permission file for later.
Attention
Do not add this private credentials file to a docker image, email, skype/meet/zoom, dropbox, whatsapp, git commit, post in an issue, or anywhere else.
Doing so will earn you the penance of flushing and rotating all the system credentials.